Friday, 20 March 2015

Painting Day

Every once in a while my friend, Linda, drives the 2 hours from Nelson, BC to spend the day with me so we can paint together.

Linda in my studio
It is always a fascinating time because Linda likes trying new things and every time she visits I end up painting something I never would have painted on my own.

Today she brought a tutorial of a painting by Frank Webb - "Bill's Lumberyard" that she printed from the internet.

my painting
I have a few samples of Frank Webb's art in one of my painting books so I might try this style again just to see if I can.

Over the years, Painting Days with Linda have taken me in a number of different directions that I might not have traveled on my own.

Other Worldly

Sometimes we will use one of our painting books for ideas. For "Other Worldly" we looked at "Watercolor, Pour it on!" by Jan Fabian Wallake.

Master of the Farm
Sometimes we will use something from my files of reference material. I don't remember exactly what I used for this painting but I loved the rooster and hated the rest of the piece. I cut the rooster out and stuck it on another piece of paper and added a new background, creating a watercolor collage.

Wonder & Joy
Linda and I don't always paint the same subject. For "Wonder & Joy", I used a photo from a magazine and Linda painted a picture of a young boy from one of my art books. We both painted people which I would never have done without her suggestion.

Our Painting Days don't happen often because of the distance between us and the fact that we both have pretty busy lives. I don't remember how many we have had over the years but every one has given me new knowledge and ideas. Painting Days are a wonderful way to share and learn from a friend and I am so happy that Linda will take the time to come and share with me.


Monday, 9 March 2015

Credit Card Sales with Square!

A few years ago a number of local artists set up a display at the Creston Rec Center as part of a Wine/Art event. When I questioned how we were going to handle sales (if any), two of the ladies pulled a little square gizmo out of their pockets.

That was my introduction to Square!

All you need is a Square reader and an internet connection for you to use your smart phone, Iphone or tablet to accept credit cards for your sales. There are no monthly fees; just a small percentage paid for each transaction - if you don't use it, it doesn't cost anything. You will need to have a reasonably up-to-date version of Android on your device but that is about it!

I admit that I didn't handle signing up for my Square - my husband did it - so I don't know any of the details for that but from what he said it was a piece of cake.

My problem is a bad memory for technical things. I don't get a lot of visitors to my gallery because I am not on a heavy traffic route so I haven't had the chance to use my Square very often. There were a few occasions where I messed up trying to use it so I finally typed out a little instruction sheet that I keep with my reader.

At any rate, the Square has been a bonus to my gallery and I recommend it to everyone. After I got mine, I suggested a friend with a B&B try it; she did and has used it numerous times with no problems at all. Then I recommended Square to my hairdresser and now she uses it too!

Today, I got an email from Square with a special offer to any friend who gets Square on my recommendation through this link - squareup​.com/i/1572B3D9

If this link doesn't say something like "Mellowood Studio invites you...." please go to my Facebook Page and find my post there and use that link because I get a deal too if my friends sign up. - https://www.facebook.com/val.vanderpoel

I hope you will check it out because it will increase your chances to make sales.

PS> There are a number of ways to use square that don't require the customer's presence or physical card but I haven't tried them so I can't offer any advice.


Tuesday, 3 March 2015

Making Do Part 2

Last week I made a get well card for a friend in the hospital.
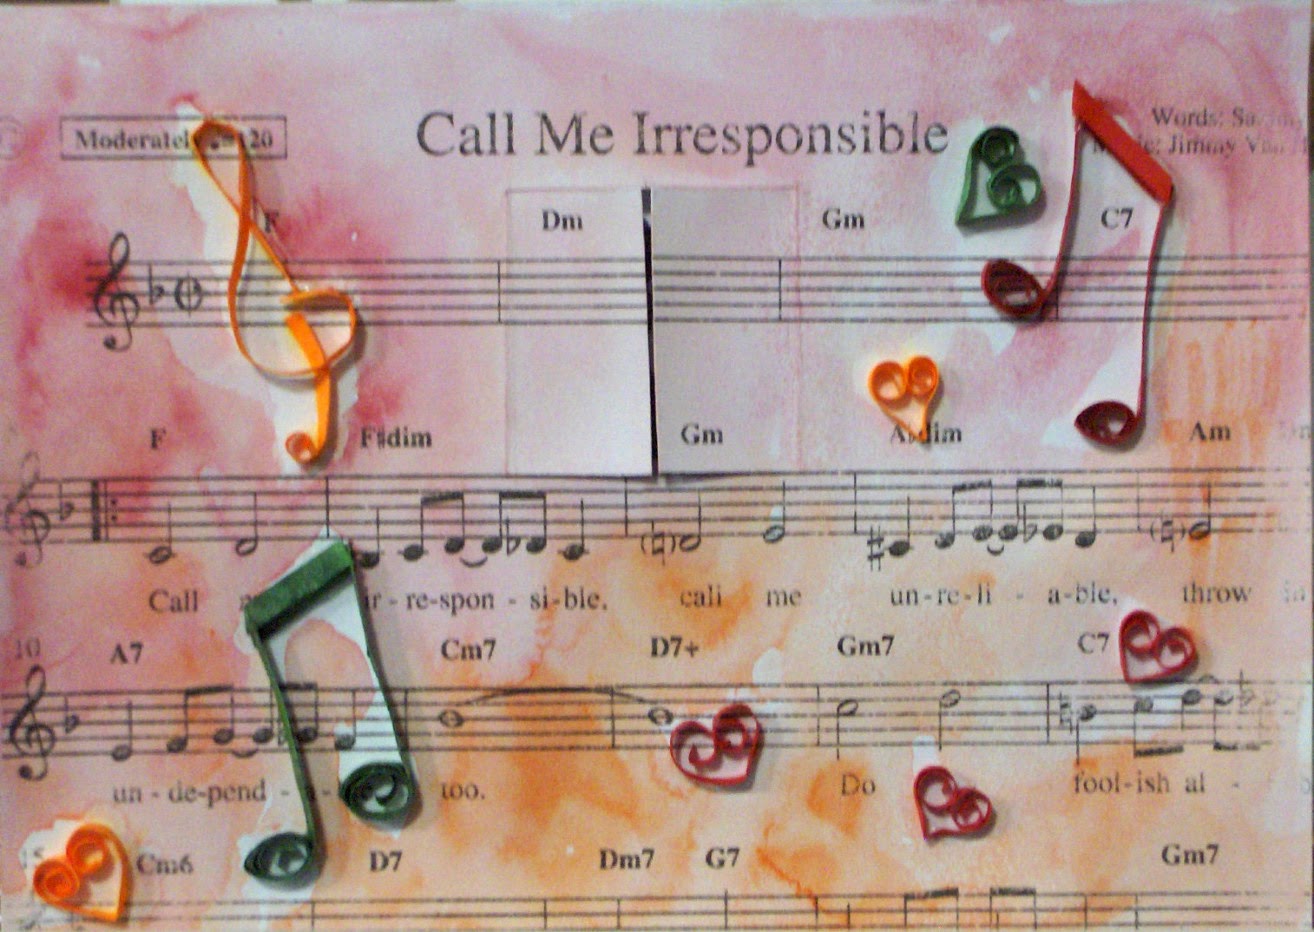
My husband objected to the 'balloon'  with the salutation and suggested I just find a way to transfer it onto the card or painted paper and leave the extra piece out. So, he immediately went to the font of all knowledge - the computer - and found a number of possible methods. This is one of the sites Bob found - http://www.vintageimagecraft.com/transfer_images.html. We decided to try the Blender Pen method.
Of course, I don't have a blender pen but Bob said that Rubber Cement Solvent (which he had) would work the same way. He is so clever! Anyway, he printed me a mirror image of a song and I taped it upside down on a card. Using a Q-tip, the solvent and a flat wooden spoon as a brayer, and, working outside, I transferred the image.
Then I found another image and transferred that to the inside of the card with a phrase from the song underneath. I added some quilling and cut out paper hearts for some colour.
I was concerned that the transfers would smudge so I sprayed them with a light coat of workable fixative. Then, to continue the experimenting I added some paint to brighten the whole thing up.

The transferred image is not as dark as an original printout and can give a bit of an old-fashioned look but I am sure this method is something I will use again. ( the solvent is now part of my art supplies - lol). Once again I was 'making do' with something around the house, thanks to my husband!


Monday, 2 March 2015

Making Do

I have a tendency to be parsimonious  (read cheap) and will make do with materials I have around the house rather than going out and buying the products recommended.

For instance, when I decided to try paper quilling I bought a book and watched a few Youtube videos - for everything else I made do!
 

Using ordinary copy paper and acrylic paint, I painted some paper to get some interesting colours.


I cut the paper into 1/8 inch strips using a ruler and an exacto knife.

Instead of buying a quilling tool, I use a darning needle or my fingers; I estimate sizes instead of using a quilling board.

I also "make do" while I am making cards (see this blog post - http://mellowoodgallery.blogspot.ca/2015/02/learning-and-adapting.html)
There are hundreds of items available for card making, scrapbooking and journaling but I only have a few so, once again, I make do. Instead of using stamps for the salutations for my cards, I use the computer to make up a bunch of different saying with different fonts and print them out on card stock.


I cut out the saying that works and attach it to the card, most often with mounting foam.

Many of my 'making do' creations may take me longer to do than they would if I had all of the right equipment but they have the advantage of being unique and completely my own. I think I feel more satisfaction this way than by using someone's else's designs, words and patterns. But, the bottom line is that I am enjoying myself and that is what counts the most!